 |
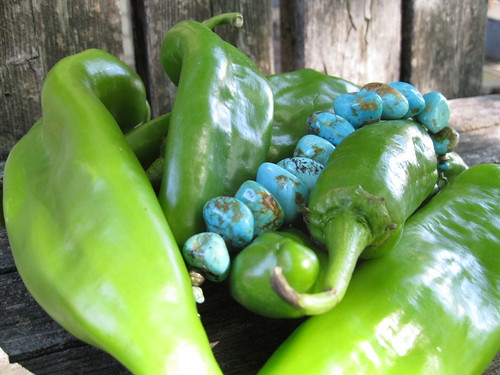
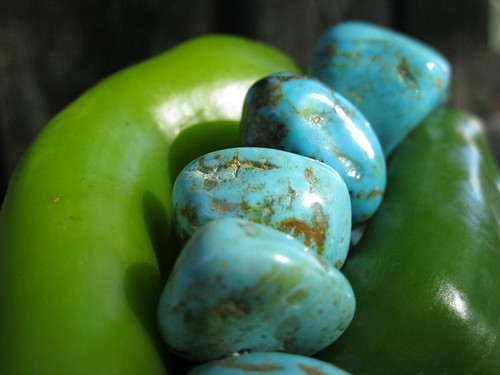
| My favorite colors of New Mexico — green chile and turquoise blue. |
We moved one state south and two states west, and now have access to fresh chiles from Hatch, New Mexico.
It doesn’t fit the 100 Mile Diet, but that’s OK.
New Mexico is among our favorite vacation spots. The landscape, the art and culture. The turquoise jewelry. Green chile, red chile, blue corn.
There, I could eat huevos rancheros three times a day—when I’m not having blue corn enchiladas. And while I like Tex-Mex and Sonoran styles of cooking an awful lot, it’s the flavors of New Mexico that really appeal to me. It’s because of those chiles.
August and September is chile harvest season. The New Mexican green chile is a cultivar of the Anaheim pepper. It is New Mexico’s largest agricultural export and Hatch, NM is Chile HQ. (The beautiful northern village of Chimayo also is known for its chiles.)
Chile heat ranges from very mild to very hot, regardless of the pepper’s color.
Picked green, the peppers are used in green chile or other dishes. They also can be dehydrated and ground to a green powder. Picked ripe, the red peppers are dried and ground for use in the beautiful sauces of red chile. In restaurants, I often order a little of both with my dishes and my luggage always includes bags of ground red chile purchased from roadside stands.
When I discovered the green chiles at Hy-Vee, I was modest and picked up about 5 pounds, not wanting to be a pig of the supply, though the check-out clerk did ask me what I was going to do with all those peppers. Once they were roasted and stored in the freezer, I returned for 5 more pounds. There still were plenty available, so I didn’t feel too guilty.
Roasting is a super easy way to store chiles for later use. You need to roast them anyway if you’re going to use them in cooking, so why not roast a whole bunch at one time? You can knock this out in less than 30 minutes.
 |
| Wash and dry chiles, then lay on a foil covered baking pan. |
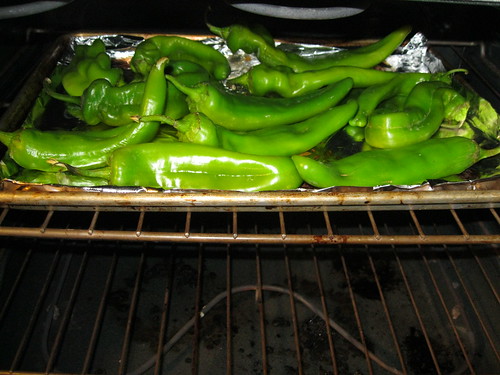 |
| Set oven to broil. Place pan on the top rack. |
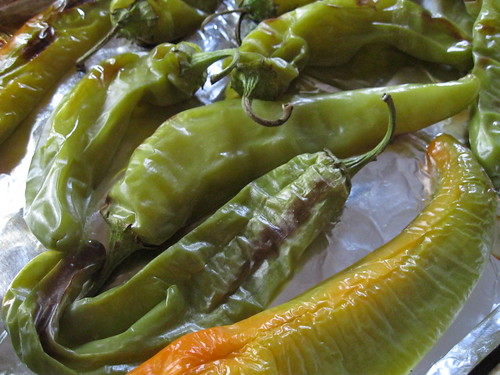 |
| This is how oven-roasted chiles look. |

No comments:
Post a Comment
Thank you for visiting my site. Please leave a message!
-Lisa